Lesson 3: Getting to Grips with Classic Bicycles

A bicycle looks complicated, but it is really a handful of simple systems. We will meet them one at a time.

Begin Step One
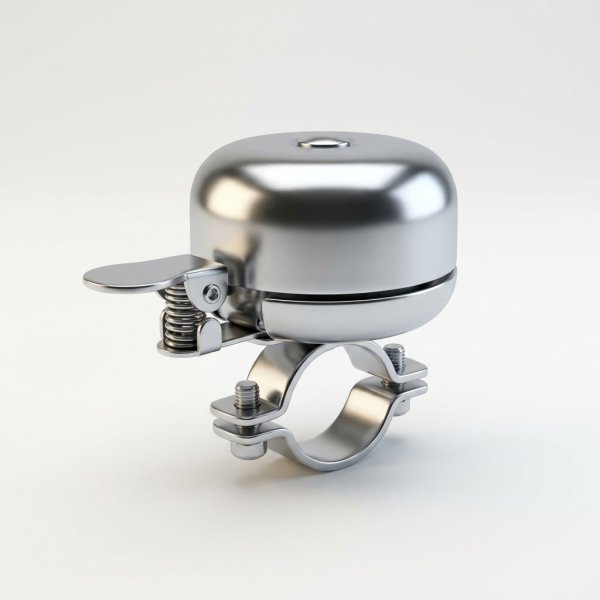
Soft-lit 3D render of a chrome classic bicycle bell on a plain white background

Start With a Safety Walk-Around

Unlike a glove on a shelf, a bicycle may carry you down a hill, so safety comes before shine. Stand the bike in good light and check the frame for cracks, especially near welds and lugs, around the bottom bracket and where the fork meets the steerer. Squeeze the brakes, spin each wheel and watch for wobbles, and look at the tires for cracking on the sidewalls.

Write a simple list: frame, wheels, tires, brakes, chain, bearings, saddle. That list is your lesson plan. Note the maker too. A Schwinn Varsity, a Raleigh roadster with a Sturmey-Archer three-speed hub or a 1970s Peugeot each have quirks worth searching for once you know the name.

If you find a crack in the frame or fork, the bike is for display or for a professional frame builder, not for riding.

Clean Before You Judge

Old bikes almost always look worse than they are. Wash the frame with warm water, mild soap and a soft sponge, keeping water away from hubs and the bottom bracket. Use a brush and a bike-specific degreaser on the chain and gears, then rinse lightly and dry thoroughly.

For light surface rust on chrome, a classic trick is a ball of kitchen aluminum foil dipped in water, rubbed gently. It is mild enough for most chrome and surprisingly effective. Deep pitting will not vanish, and that is fine; it is part of the bike's story. Finish chrome and paint with a coat of car wax for protection.

Fresh Grease, Smooth Ride

Bearings live in the hubs, the headset, the bottom bracket and the pedals. On older bikes the grease inside has usually dried to wax. If a wheel feels gritty or the handlebars stick as you turn them, those bearings need opening, cleaning and regreasing.

Take one system at a time and photograph every stage. Lay parts out on a towel in order. Clean old grease with a rag and degreaser, inspect the balls and cups, pack with fresh bicycle grease and reassemble, adjusting so there is no play and no tightness. If cone wrenches feel daunting, a community bike workshop is a friendly place to learn by watching.

Brakes, Cables and Tires

Brakes deserve fresh parts rather than restoration. Old rubber pads harden and lose grip, so replace them. Rusty or frayed cables and housings should go too; new ones are inexpensive and make the bike feel transformed. Adjust pads so they meet the rim squarely, never touching the tire.

Tires and inner tubes older than a few years should be replaced before riding, even if they hold air. Check the size printed on the sidewall carefully, because older bikes sometimes use sizes that differ from modern standards. Components from makers like Campagnolo may need specific parts, so match by name and model.

Care for the Leather Saddle

Here is where Lesson 1 pays off. Many classic bikes carry a leather saddle, often by Brooks England. Clean it with a barely damp cloth, let it dry, then apply a thin layer of a leather dressing such as Brooks Proofide to the top and underside. Avoid soaking it in oil; a saddle needs to stay firm enough to support you.

If the saddle has sagged, the tension bolt under the nose can be tightened a small fraction of a turn, but go slowly. Over-tensioning can tear the leather. Once everything is reassembled, take a slow test ride on a quiet street, listen for clicks and rubs, and adjust. Then enjoy your bike. When you are ready, Lesson 4 brings us to soft fabrics.